Thursday, March 31, 2011

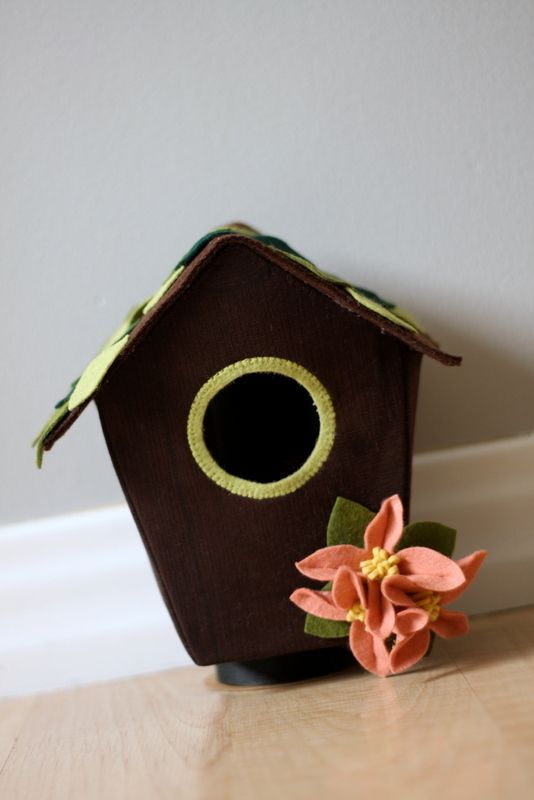
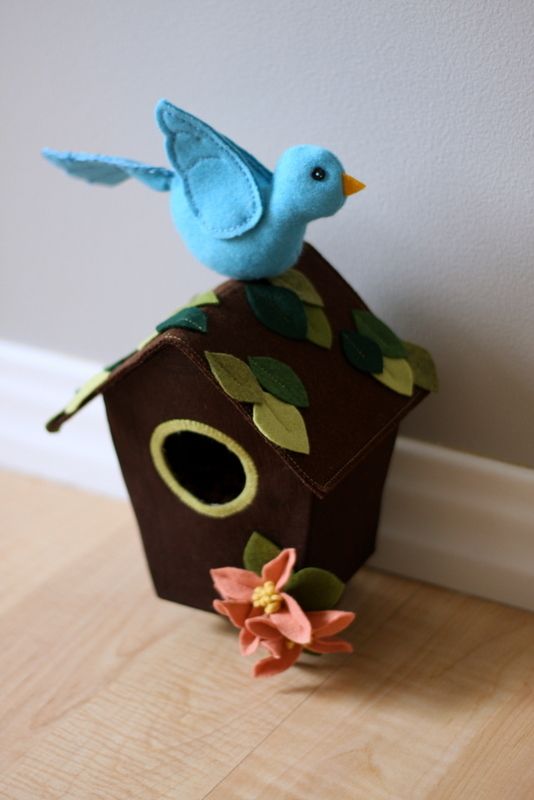
birdhouse

Photobucket
Spring is coming, I know it. The birds are back, tweeting and singing all day long outside my window. I love it- even though it's still snowing off and on, singing birds are a sure sign of warm weather and green grass to come.


Photobucket
So I had to make a birdhouse. For the bluebirds that I made up all by myself.


Photobucket
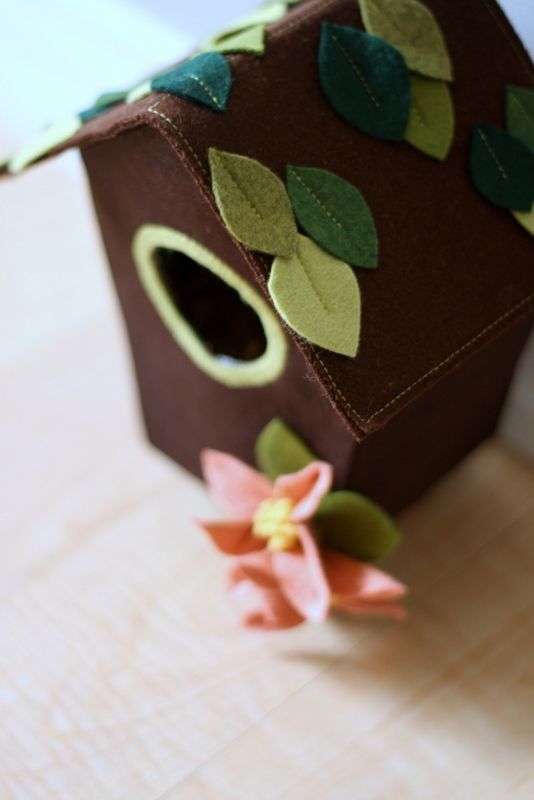
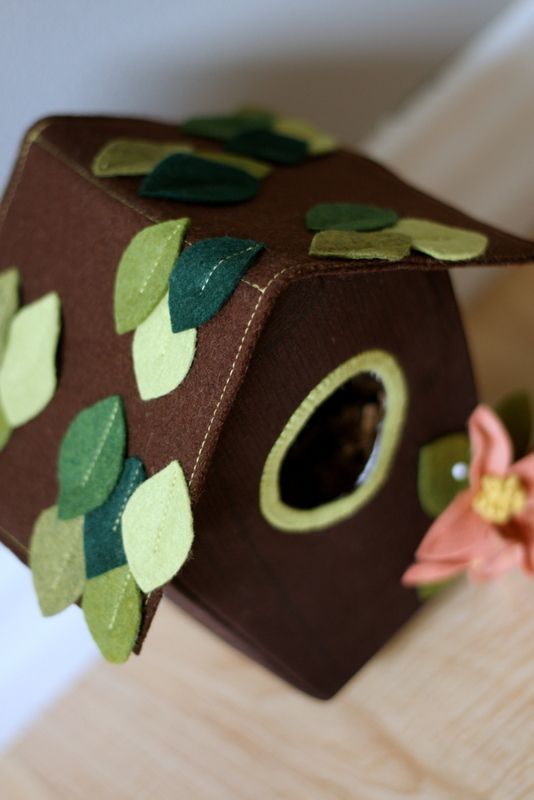
Danny had the idea to put the leaves on the roof in patches. I wanted to tile them like shingles, but they look much better this way.


And some pretty spring blooms...


I had a remnant of some white with black wood grain fabric from Ikea. I dyed it brown- I love how dark it came out. And I lined the inside of the house with a cute brown/green/blue striped fabric BUT you can't really see it. At all. Oh well.


Photobucket
Now, where to put such a cute little house?

I'm contemplating putting this and future birdhouses in the shop... what do you think? Yea or nay?

Wednesday, March 30, 2011

project tree: spring

I have an amazing project that I've been working on, and I am finally ready to share the first phase of it with you...

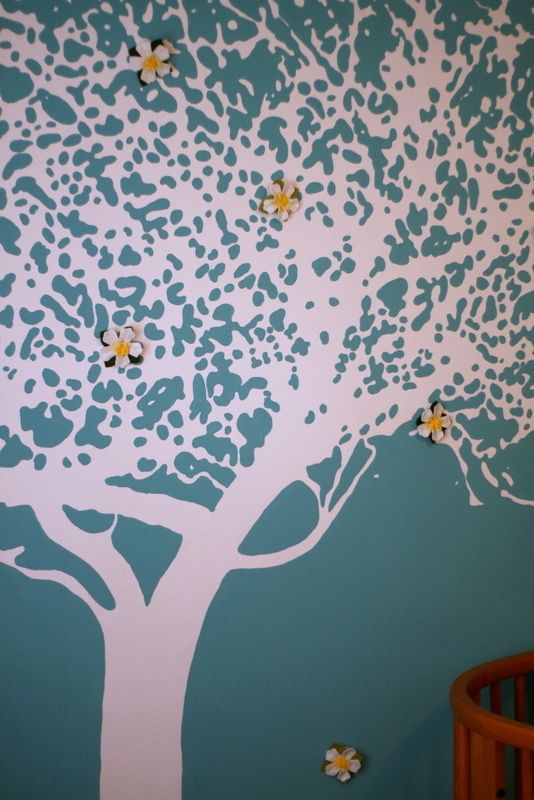
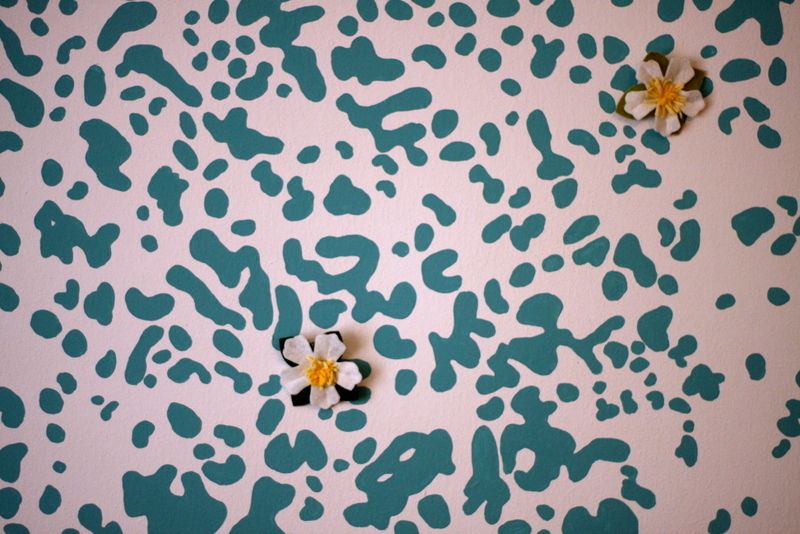
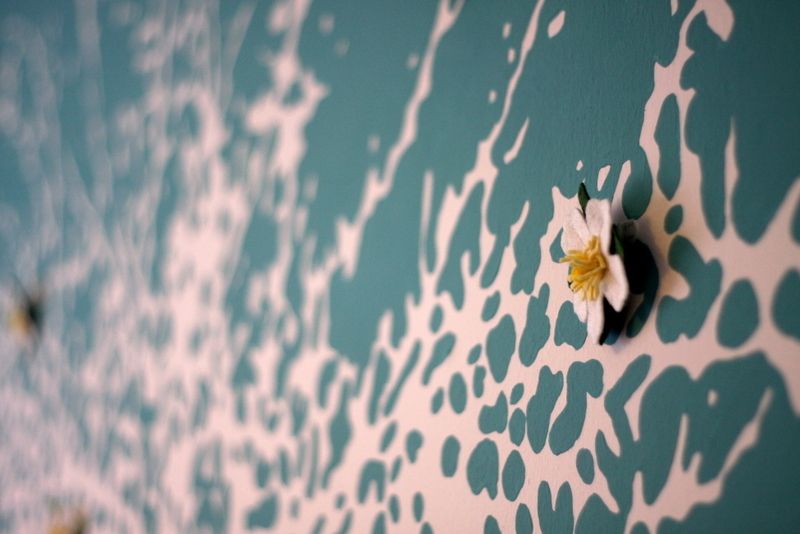
My friend Shawna that lives in San Fran is having a baby girl very soon. Her and her husband painted a beautiful mural of a white tree in the nursery. She mentioned that she wanted seasonal decorations for the tree- and I offered to make them. Of course.

Here is a shot of her nursery. The Stokke crib looks so perfect under those branches- I can't wait to see all the different seasons!

I started the hunt for patterns and ideas as soon as I got the go ahead. I found everything except what I needed to make first...


Photobucket
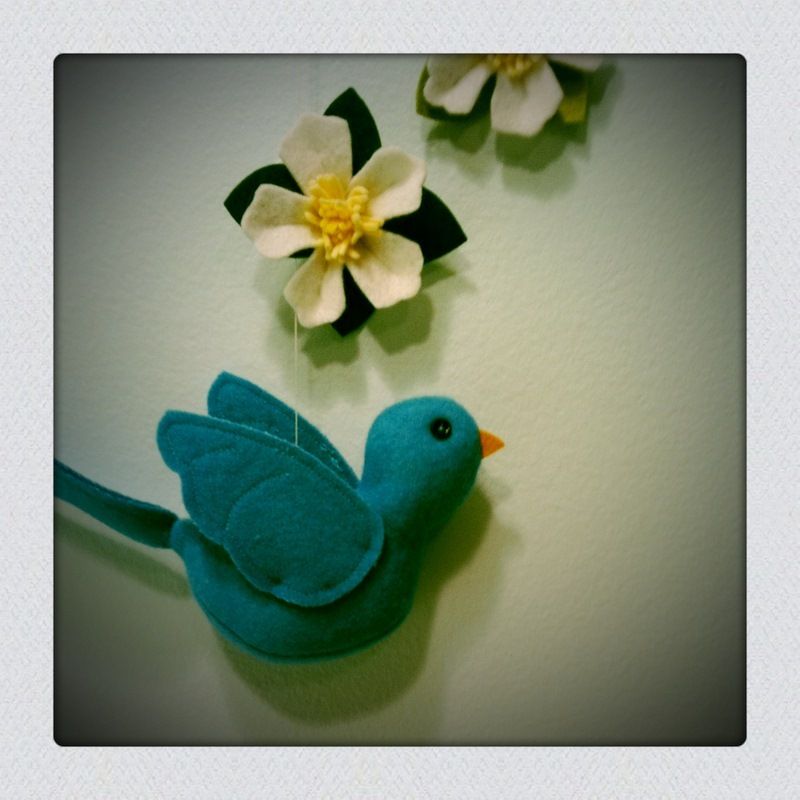
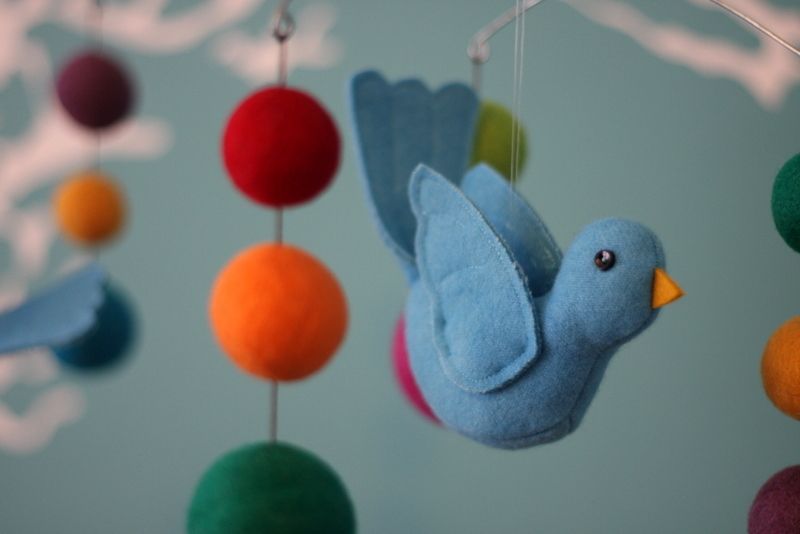
Spring: bluebirds and apple blossoms.

Sounds easy, right?


Photobucket
I scoured the internets for pictures, patterns, ideas, anything to help me make the perfect blossoms. I found nothing. (nothing that lived up to my standards, anyway)

At first I made the blossoms out of chiffon. They were pretty, but not at all what I had pictured in my mind. One desperate night I even considered buying some from someone on Etsy- but nobody was selling apple blossoms. So I started over. I played with some felt, and finally came up with the perfect blossom.


Photobucket
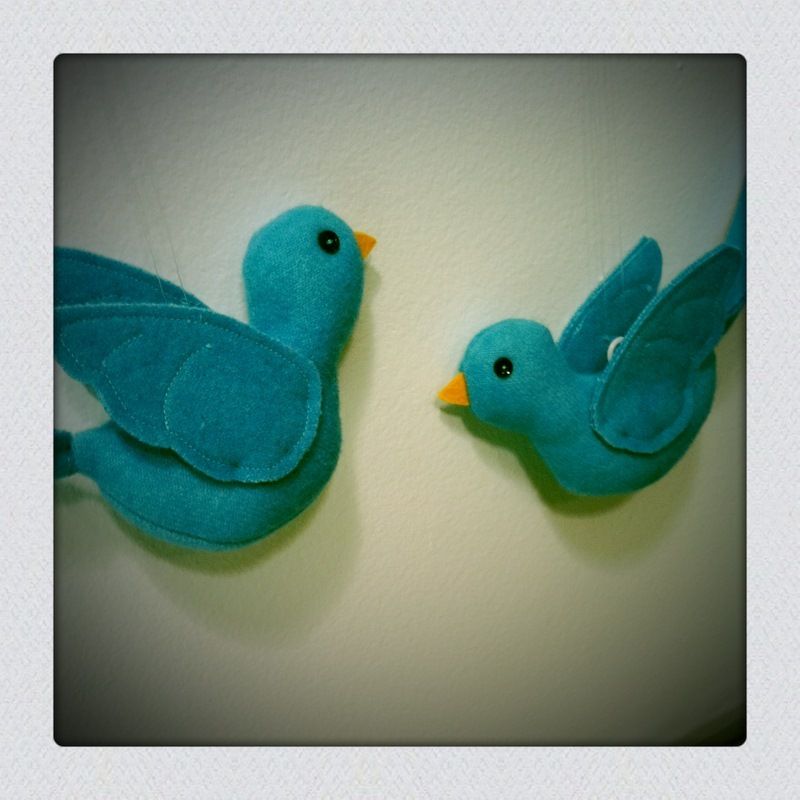
I did find a free pattern for a bluebird, but it was terrible. I made quite a few versions trying to get it just right. They all looked like flying fish.


Photobucket
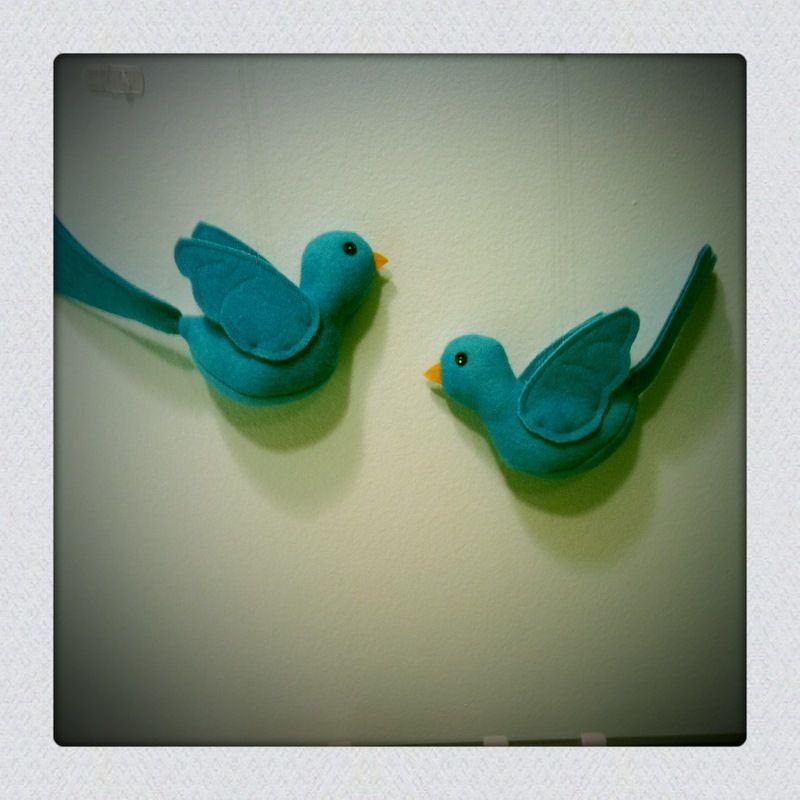
So I started over. I drew from scratch my very own pattern. It took me forever, and it was very frustrating. I don't believe I will be writing patterns for a living ever. No rag-a-muffin book in my future.

BUT. How sweet did they turn out? Damn near perfect, that's what I think. And if I ever need bluebirds again, I will have a pattern.

I'd like to say that since I made the pattern, it was the most rewarding project ever. It was not. I am proud of what I learned, accomplished, etc. But I far more enjoy making something from an existing pattern, and getting it right the first time, rather than ripping up designs and having a sad little pile of mistakes behind the sewing machine mocking me as I try try again.

I have already started on the next season, so stay tuned!

(edited to add AFTER PHOTO'S!)


Photobucket
After we moved to San Francisco, I got the chance to take some photos of Mina's nursery in all it's Spring glory!


Photobucket


Photobucket


Photobucket
Shawna hung the birds in the mobile, I think it's so cute!

Tuesday, March 29, 2011

headquarters

This post is all about how and what I did to redo my sewing room. So it might be kinda boring unless you want to know the nitty gritty.

As I was ripping the carpet out, I was thinking "What a great before and after this room will be! Such a transformation- with only a few simple changes!"
Ahem. You kinda have to take Before Photos to really get it. I was so ashamed of that room, that I don't really have any. But there are a few random pics throughout this post that kinda get the message across.


So This is What I Did:

  • Ripped the carpet out. A utility knife with a sharp brand new blade is essential.
  • Ripped the pad out. A good pair of wire cutter pliers gets the staples out of the floor with a little effort.
  • Pulled up the carpet tack. I had to buy a nail puller/pry bar so I could get underneath the tack and yank up the nails. This was the hardest part, and the hardest to clean up- even with gloves!
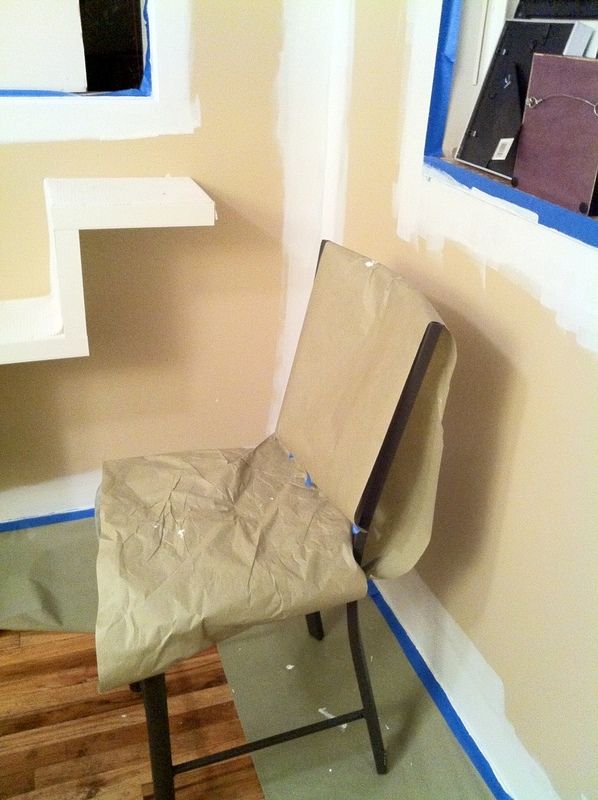
  • Taped off the moldings and put paper down to protect the floor from splattering paint.


Photobucket
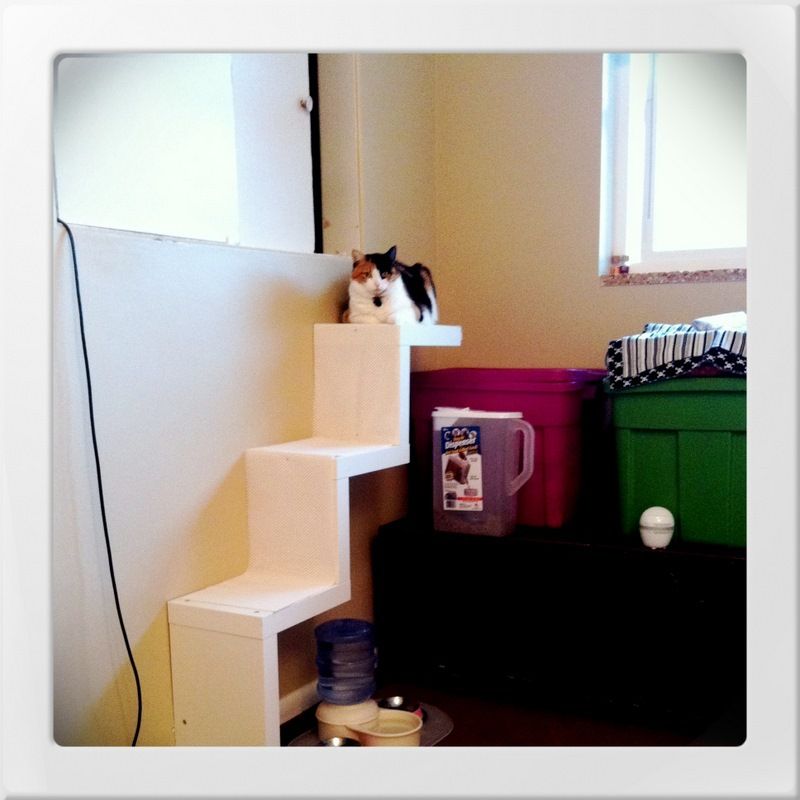
There is this weird cupboard/closet space in there- we use it for the litter box. So there's Tilda sitting at the entrance. With piles of crap under the window. And this is where the chunk of carpet had to be cut out.


Photobucket
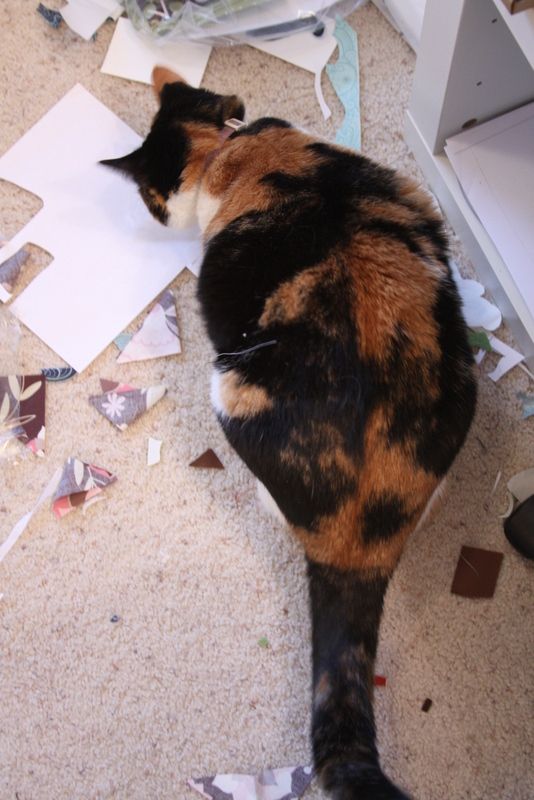
Tilda likes "help" when I am sewing. This is what the carpet looked like.


Photobucket
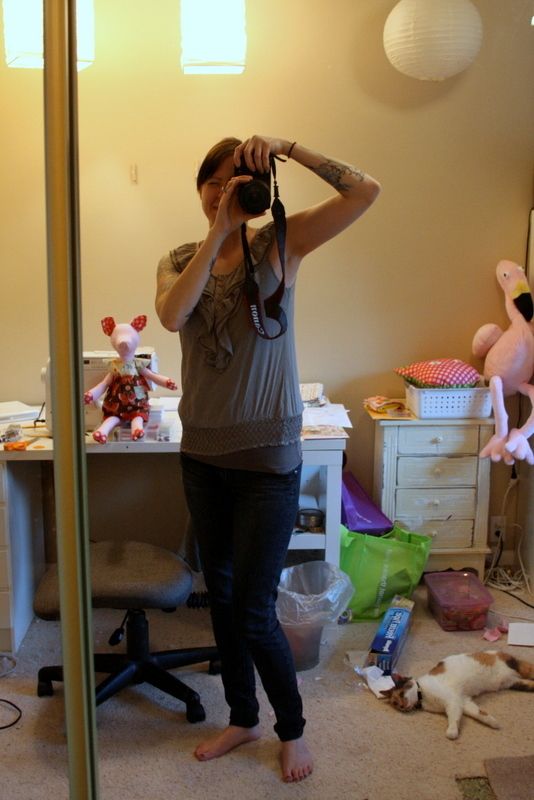
I took this photo last summer to document the freaking messes I make while working on more than one project at a time. Isn't it awful?

Can you find Kobe cow cow all cowed out in the middle of the mess?


Photobucket
  • Edged and cut in with primer. We like Glidden, you can get it at Home Depot. 2 coats do the trick. Also- my favorite tool to get this done really well and easily is the Edge N Roll. It made edging so easy and fast- I was in disbelief that I was finished already!


Photobucket
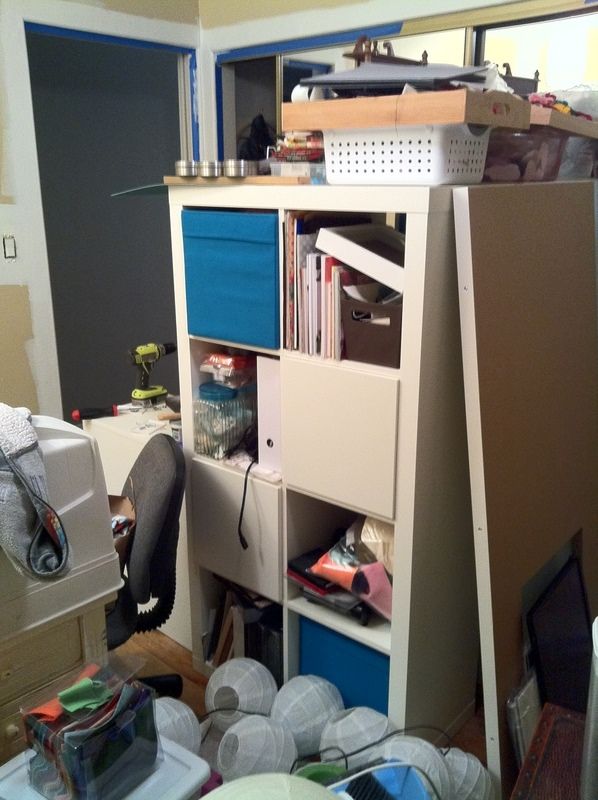
Here is all the furniture shoved into the middle of the room. Painting like this sucks! When we painted the rest of the house- we hadn't moved in yet so it was blissfully empty.


  • Rolled the primer on, then after an hour, rolled the second coat on.
  • The next day, I applied the paint. Same as the primer- edged in 2 coats, then rolled 2 coats. This took pretty much all day, since I had to wait 4 hours between coats. We also chose Glidden paint- in eggshell.
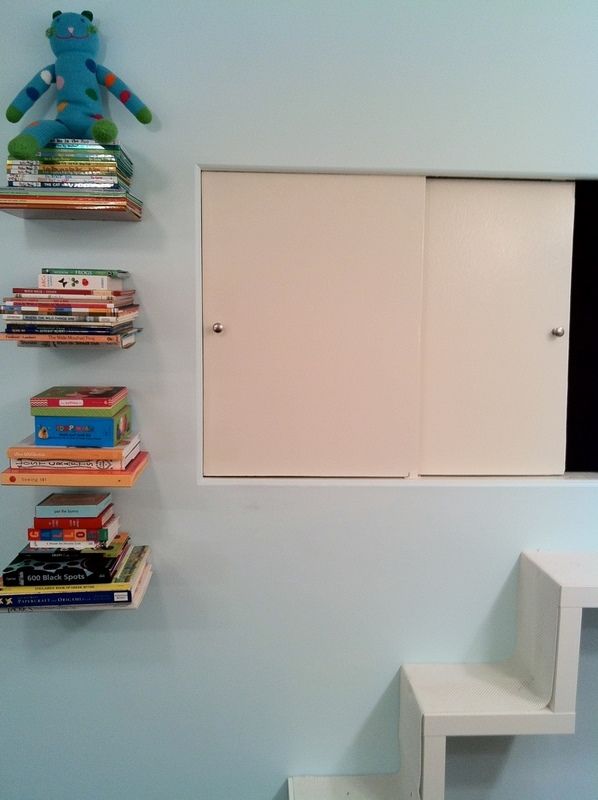
  • I took the sliding doors off of the kitty closet, cleaned them up, took the knobs off and primed them. I only did the front, since you never see the back.
  • I painted the doors with a high gloss paint that I had matched to the furniture in the room. I was going to just use a bright white- but then realized that my furniture is not bright white. Luckily I had a shelf that I could take into the store so they could match it. I really think that bright white would have looked better with the blue, but what I ended up with matches the ceiling and trim, so it's better that way.


Photobucket
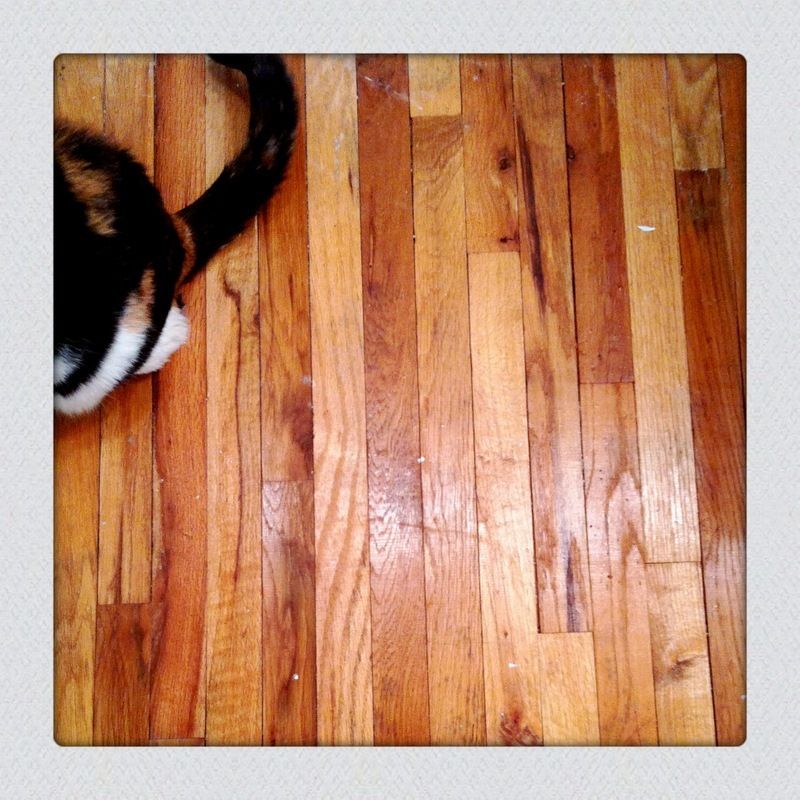
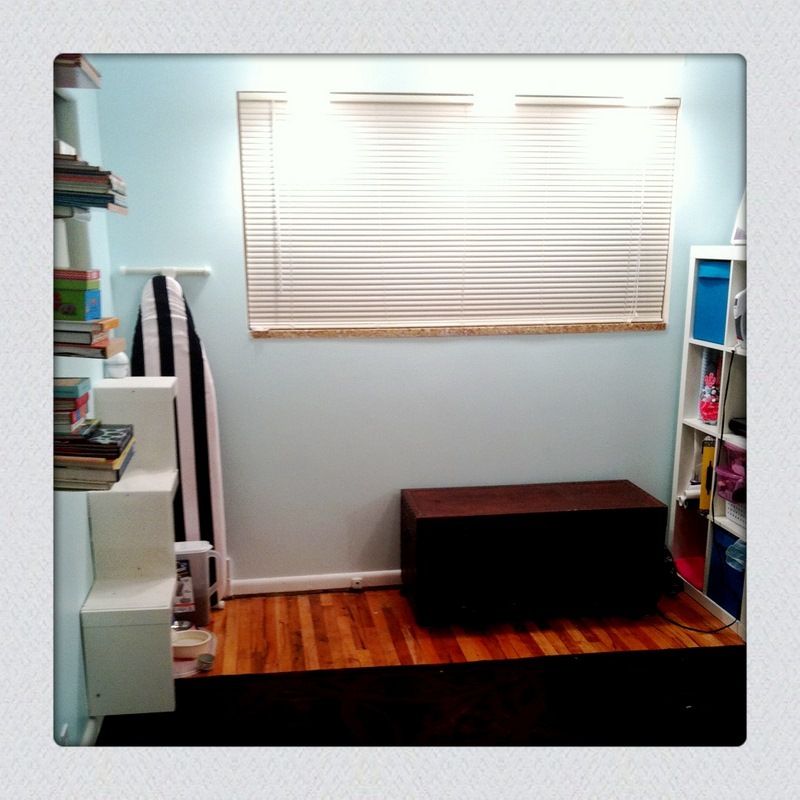
Here is the wood floor. This is a spot that's pretty nice, actually.

  • Time to take down the tape! Yea! I swept the floor and vacuumed up the dust and little bits of carpet.
  • Put the furniture back, and out of the way so I could finish the kitty closet.


Photobucket

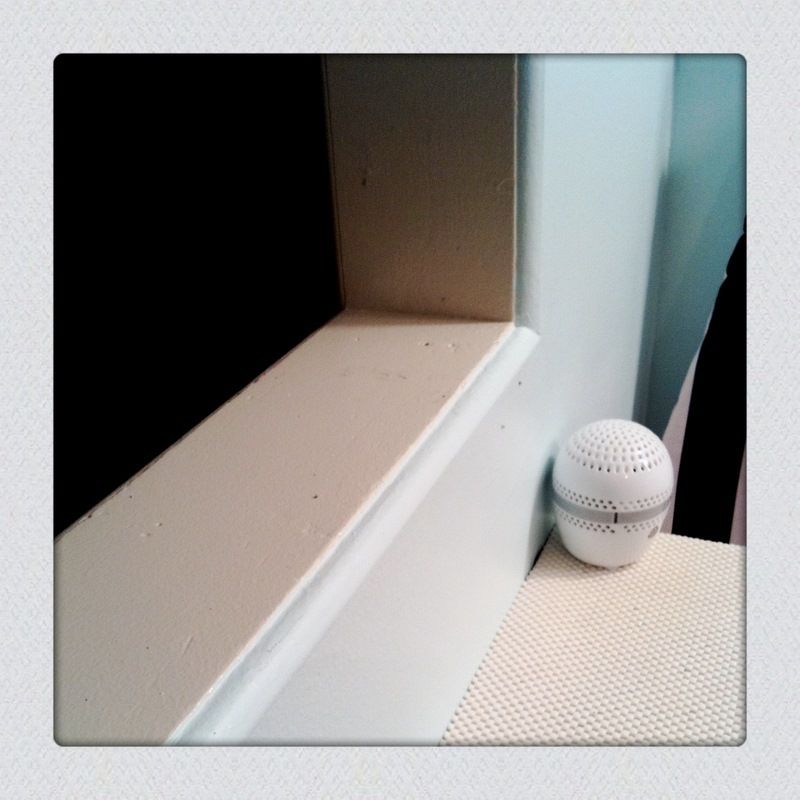
The ledge of the kitty closet was a mess- painted chipped and gouges here and there, and what is the point of re-painting when it will only chip right back off? So I sanded it down with our little orbital sander. I used 60 grit paper first, then 100. It's not perfectly smooth- but it works.

I also learned that I can wield power tools- meaning I don't need to beg and plead and demand that Danny do it for me. Project done when I want it done, and not making my husband grouchy. Win/win.

  • Primed, then painted the ledge with the same high gloss off-white as the doors. I chose high gloss so it could be cleaned easily, since it gets so much kitten traffic on a daily basis.

Photobucket
  • Then I put everything back together- shelves, the stairs, installed the new knobs and re-hung the little doors.


Photobucket
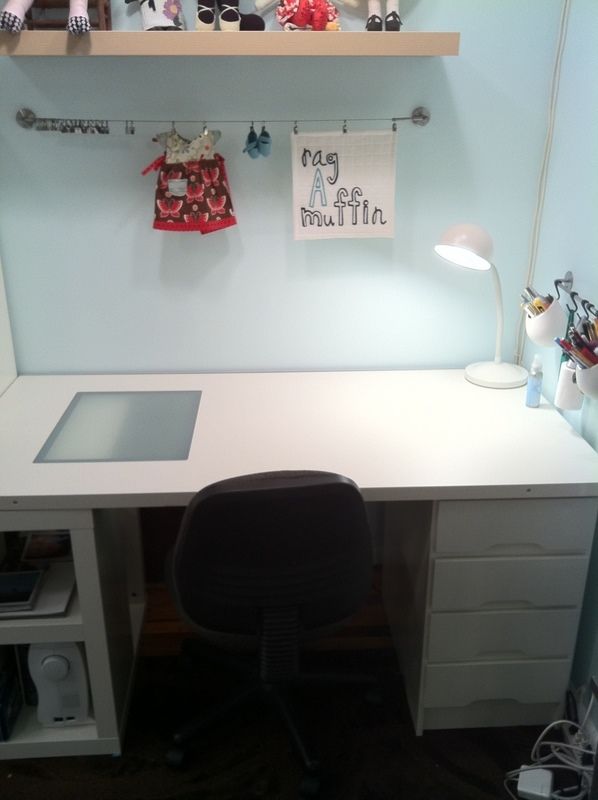
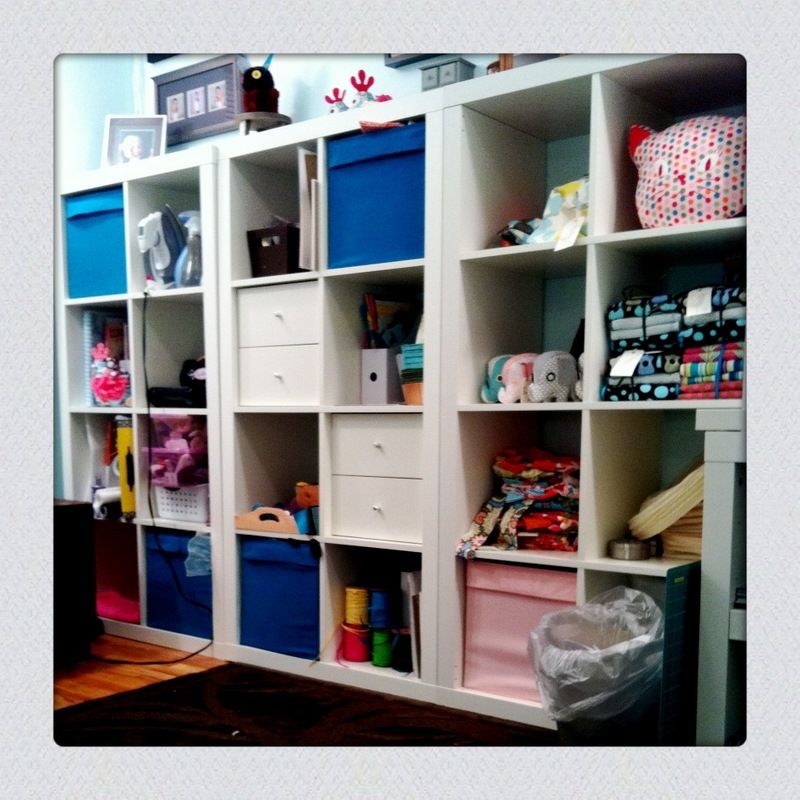
  • Off to Ikea to buy a few things. I already had my desk and 2 sets of shelves.


Photobucket
I got another set of shelves to fill up the wall.


Photobucket
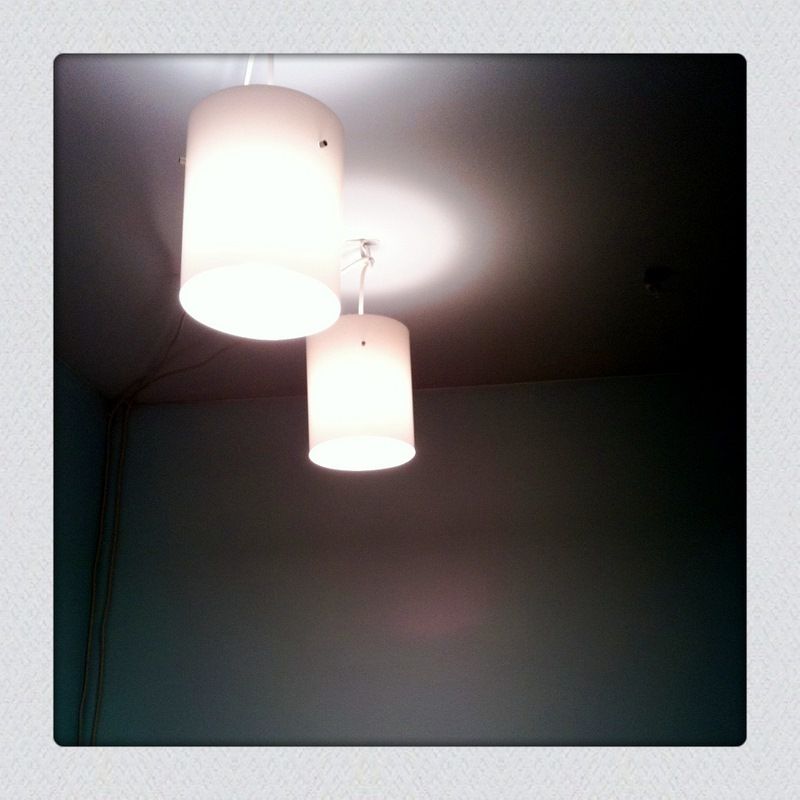
I also got some new lights- I already had the ones above the desk so I just got 3 new ones for over the cutting table. I got new shades for all of them because I wanted them to be white and plain. At $3 each, I really like the ones I got!


Photobucket
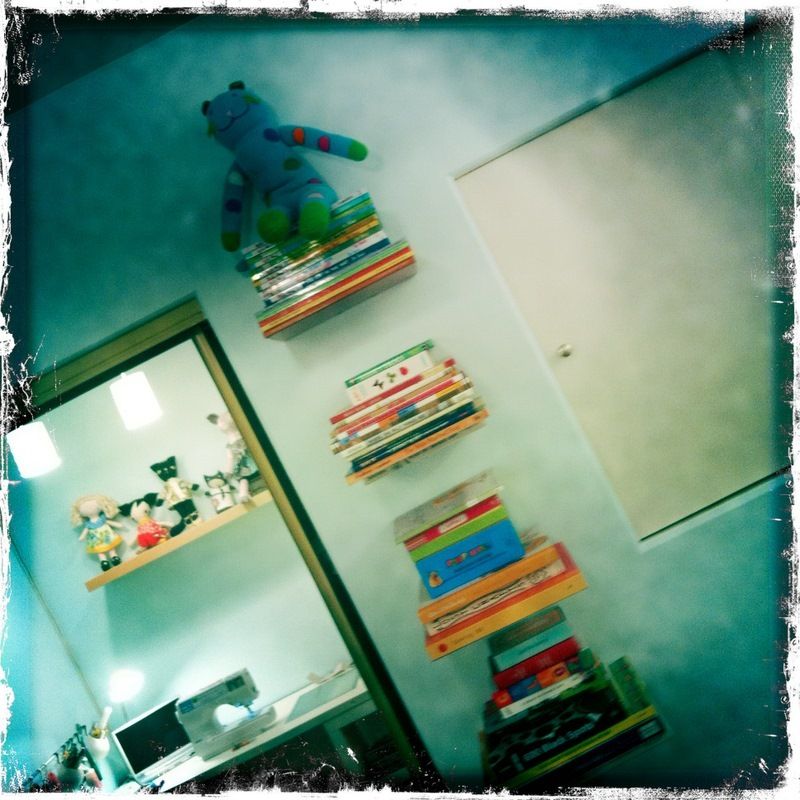
  • I hung some floating bookshelves in the only wall space left- next to the kitty closet. I love those bookshelves, and we haven't had a place to put them until now. I love having all my kid's books in my sewing room- I often flip through them when I hit a creative wall, it's a great little time out!
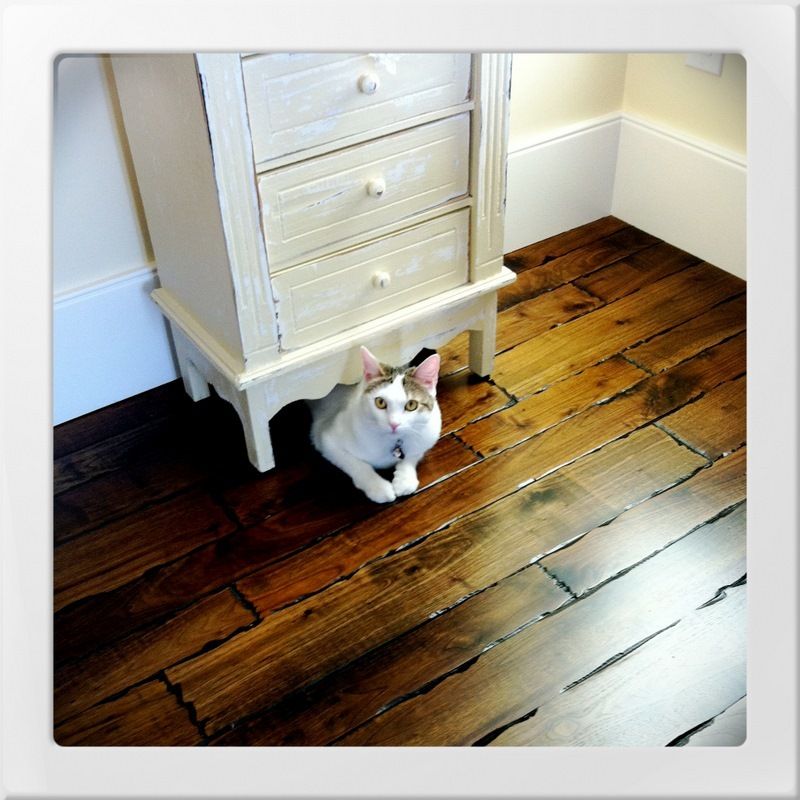
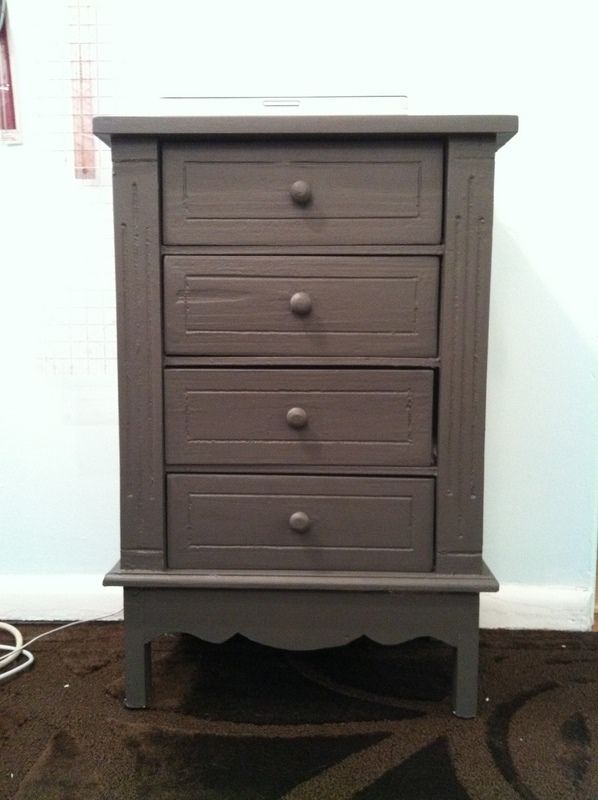
I had a yellowish small dresser/nightstand that my mom found for me at a antique shop. I loved it, but it just didn't match all the new colors. So I painted it a charcoal grey. It was really easy- a lot easier that I thought painting a dresser would be. Probably cause it's so small!


Photobucket
(before- photographed at my mom's house for the boutique we had last October.)


Photobucket
(after- oh it just looks amazing with the blue walls!)


  • I was excited to not have carpet in my sewing room- until I realized that sweeping the old wood floor was impossible. It needs to be sanded down, filled, and re-varnished. Since we rent, refinishing the floor is out of the question. So I began a hunt for a cheap rug.

Photobucket
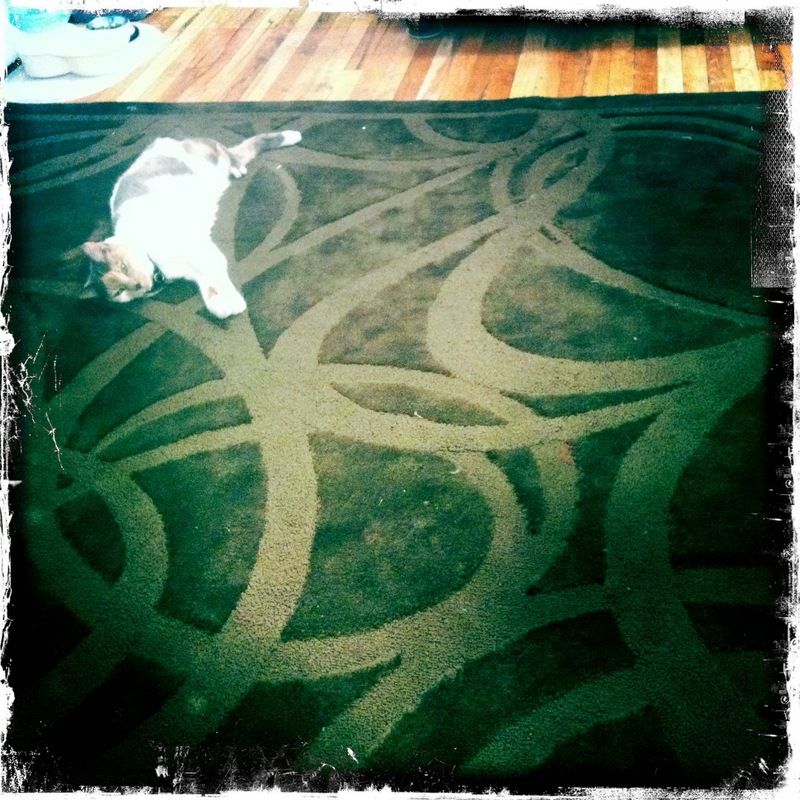
Ikea had a 8ft x 10 ft rug that fits perfectly where I want it to. It's brown, so it goes really well with the rest of the decor. And may I just say that it really ties the room together?! Ha!


Photobucket
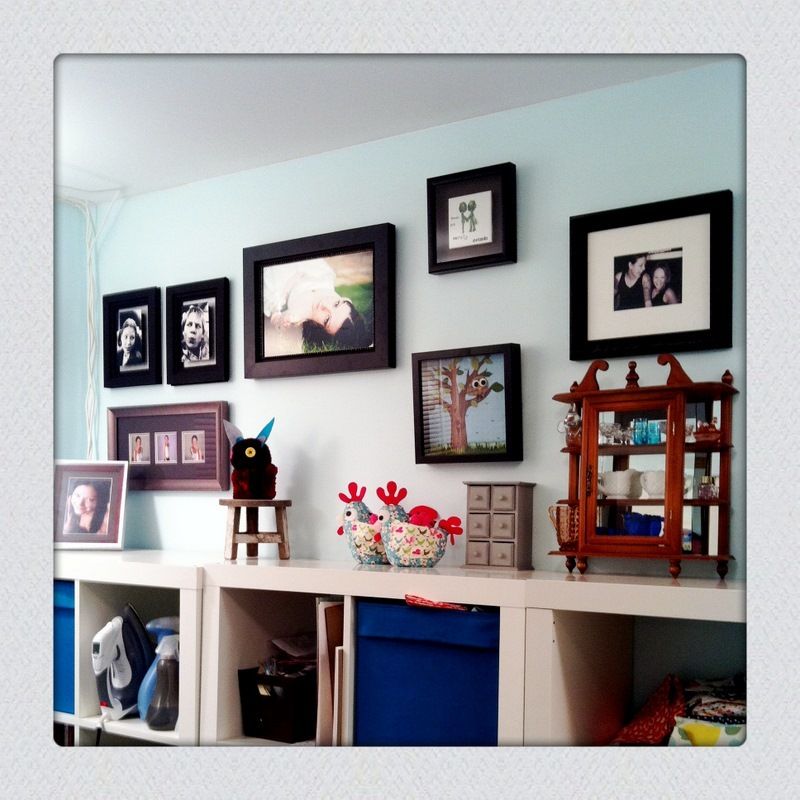
  • Then I filled the wall space on top of my shelves with all the framed artwork I have done over the years. It's not really fit for the rest of the house, so putting them in the sewing room is perfect.


Photobucket
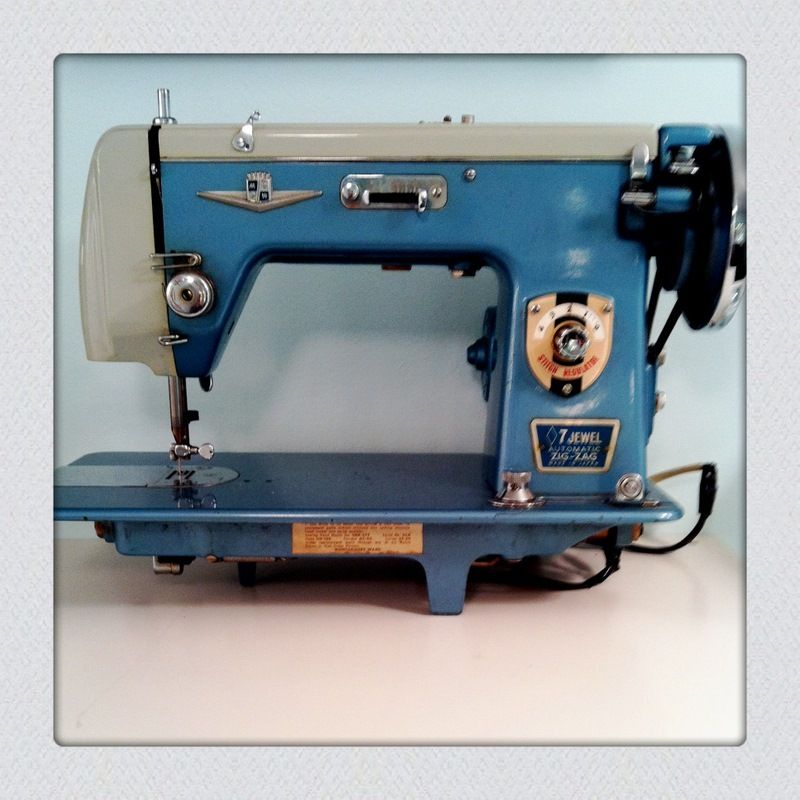
I also displayed my vintage sewing machine and the miniature shelf I got for my birthday.


Photobucket
I want a table area tall enough to cut fabric in, so that I don't drag my mess into the kitchen when I need to cut. Danny's dad has a 6 ft table that he is willing to part with, and re-working that to be counter height will be the last part of this wonderful project. It will go where the trunk is now.

Phew! Did you doze off? I did!

I have decided to call my sewing room Headquarters from now on. So. Just a heads-up. I don't want my massive reader base to get confused, okay?

Monday, March 28, 2011

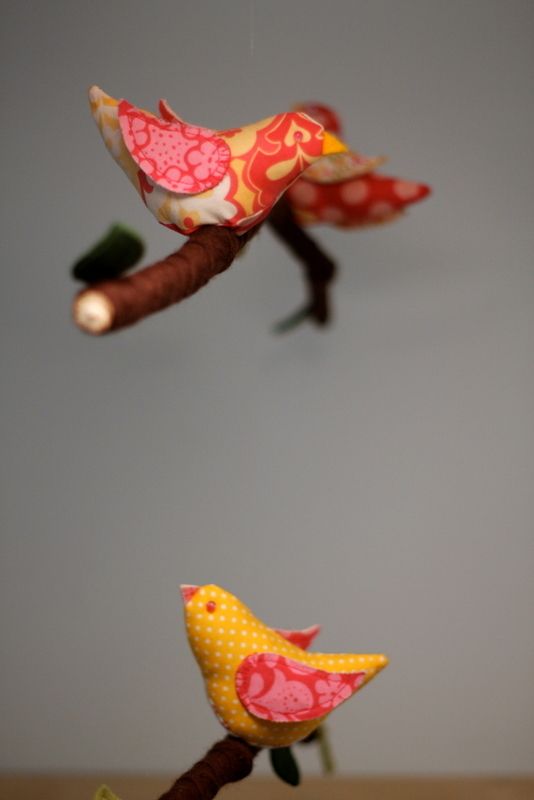
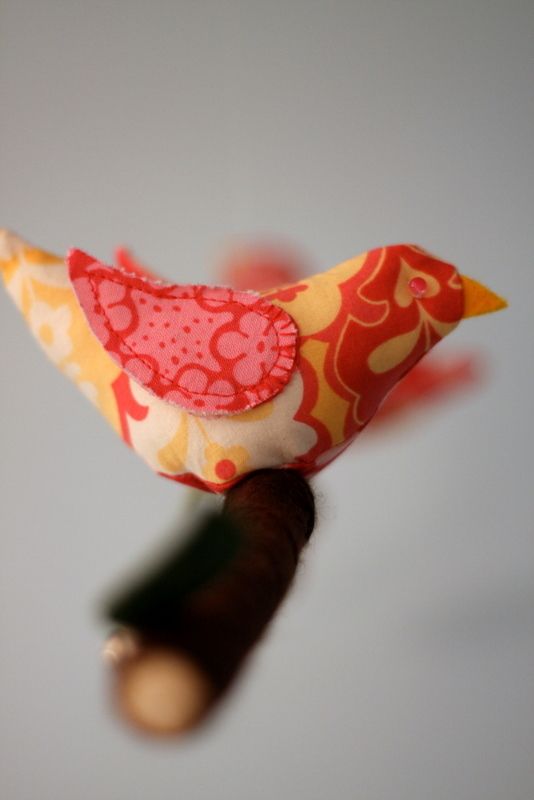
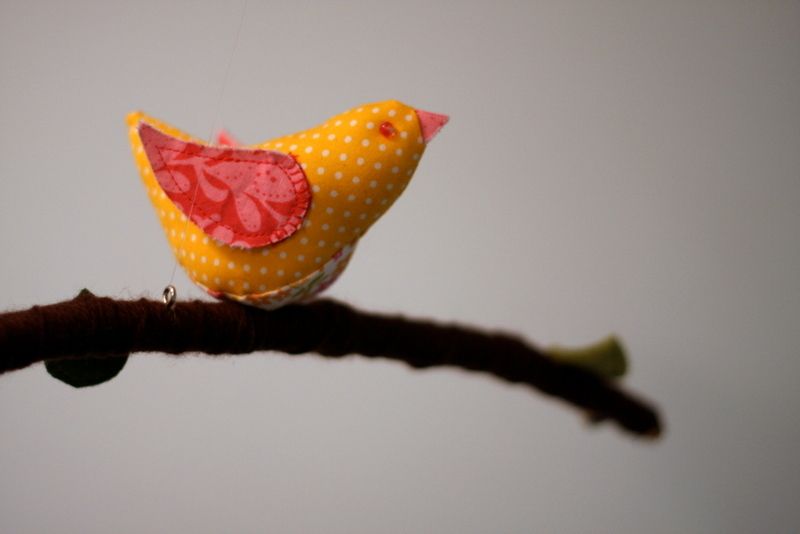
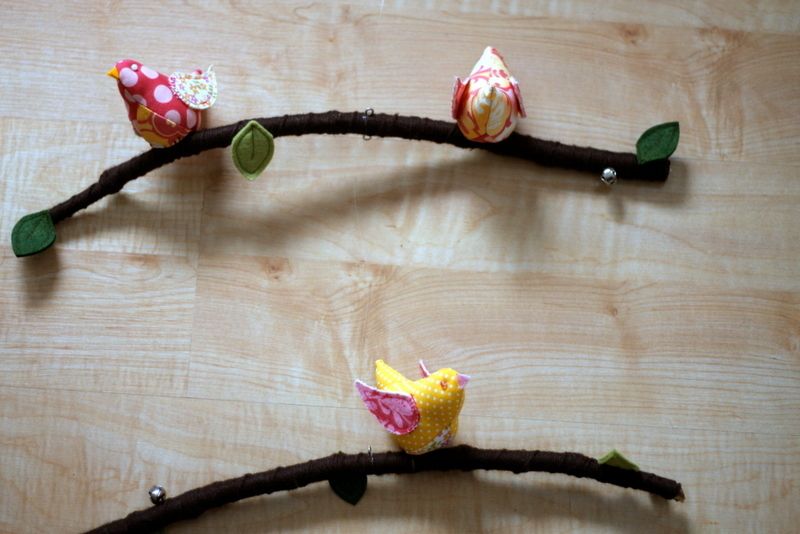
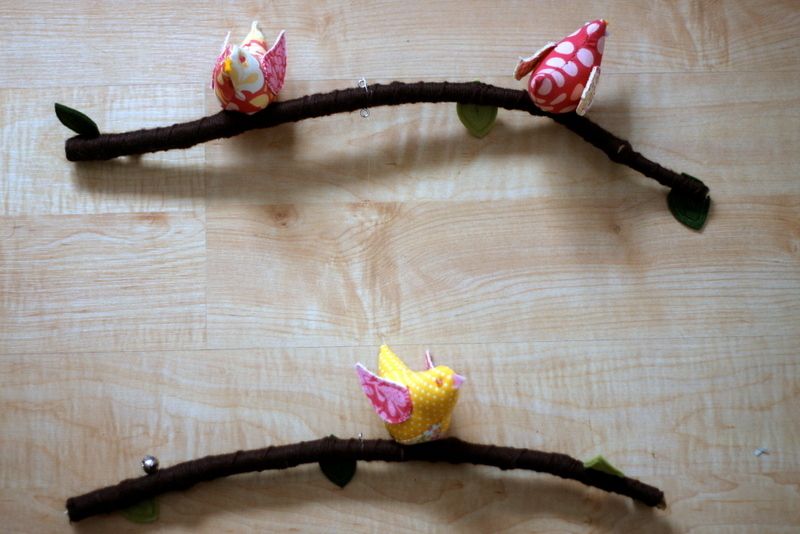
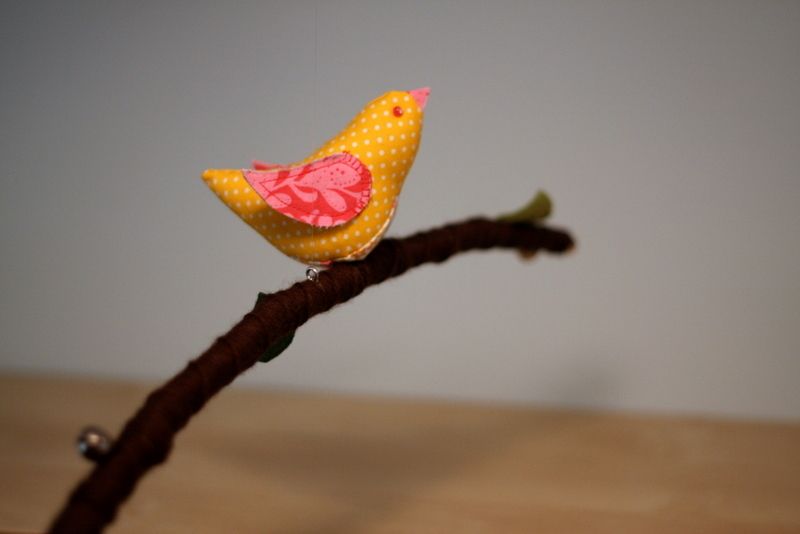
eva's bird mobile

(I feel like I can't ever get a good photo of any of the mobiles I make. So I took a million.)


I made this mobile for 5 month old baby Eva. I love the bright yellow and pink her momma picked for the colors- so happy!


Photobucket
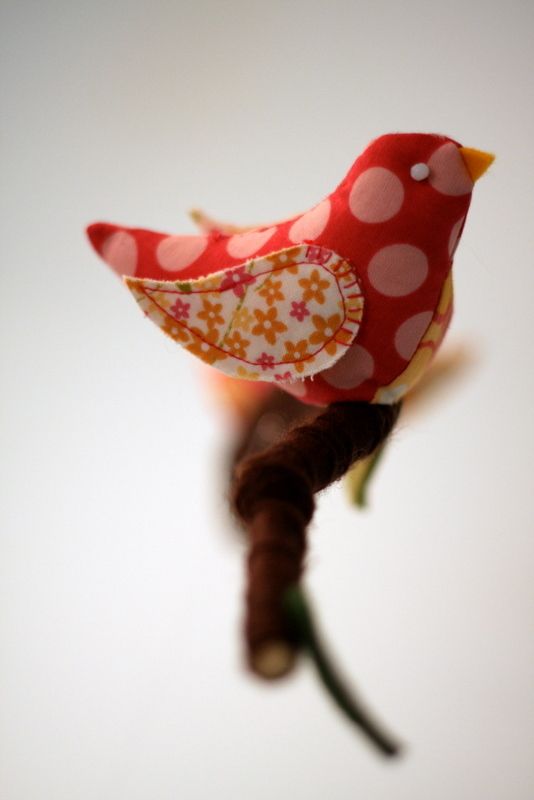
3 birds on two branches, with some leaves and some bells.


Photobucket


Photobucket


Photobucket


Photobucket


Photobucket
In the fall, a huge snowstorm broke a ton of branches off of the trees in our backyard. They are all still sitting in a pile on the side of our house. So I went back there armed with a saw and got to work. Then I brought them inside and trimmed off all the little poky branches and let them dry out for a few days.

Then I wrapped them in yarn, and added the leaves, bells and birds. It took me awhile to figure out how to balance the two branches- but now I know how so watch out, I might be making some more!


Photobucket

Friday, March 25, 2011

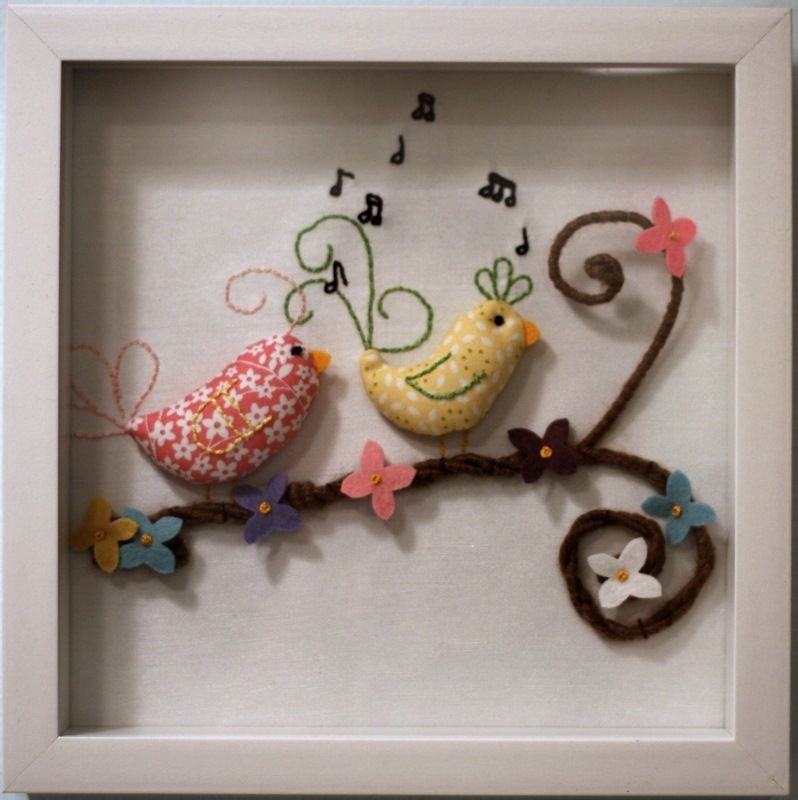
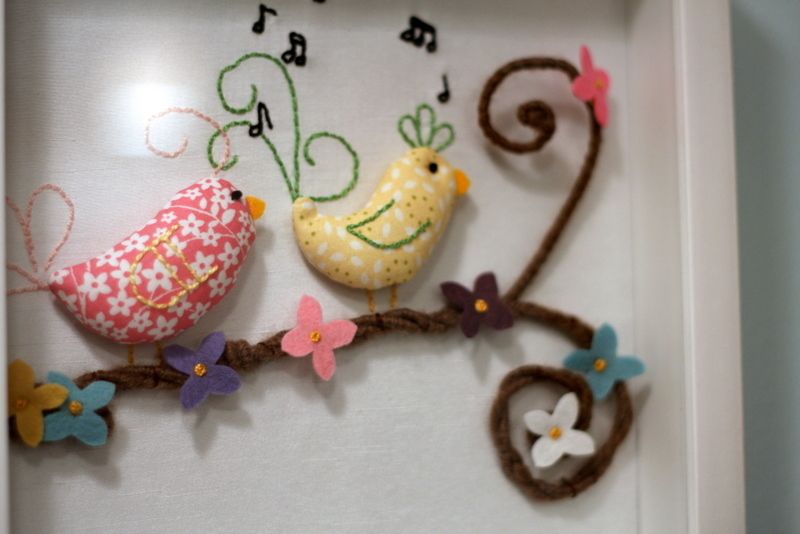
sweet songbirds shadowbox art

<span class=
This was a custom order for a little girls room. I used a white raw silk for the background- it looks so pretty with the birds and blossoms.


<span class=

I was worried that I wouldn't like embroidering the details instead of making them out of felt- but I really like the end result!

To make the branches- I wrapped floral wire with yarn, then twisted them together.

So so sweet!

Thursday, March 24, 2011

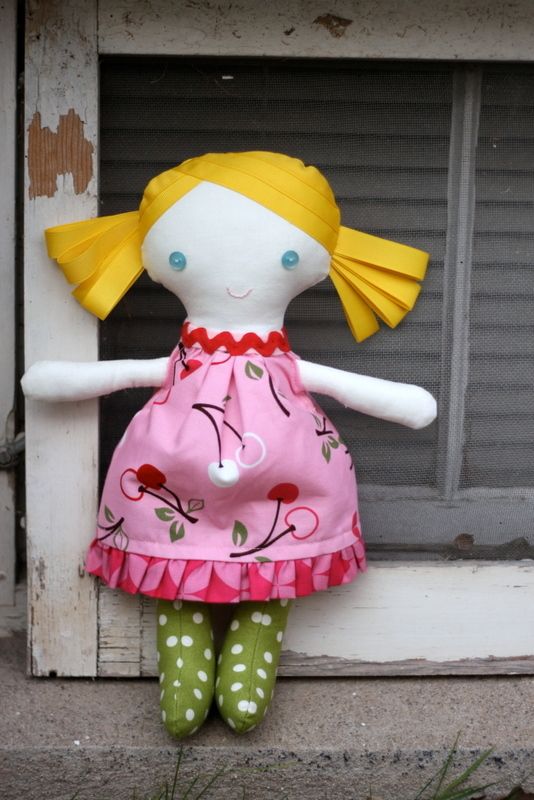
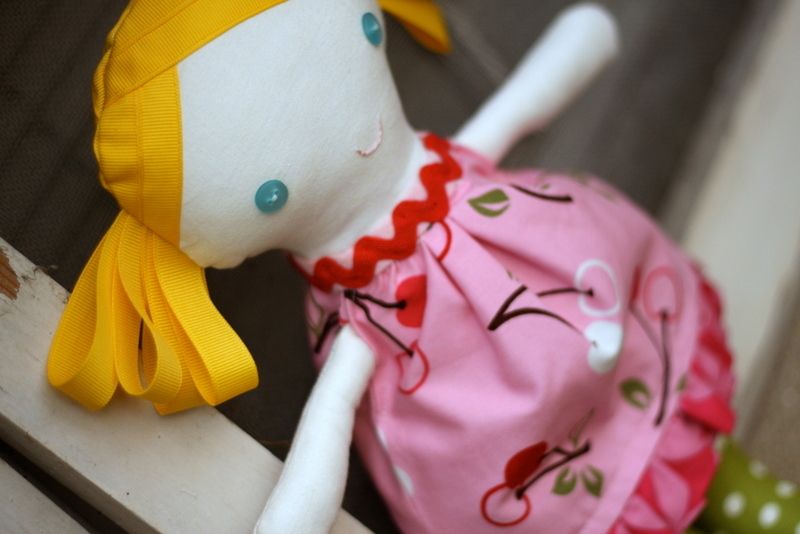
tag-a-long doll for adelaide

Photobucket
This little cutie is for my friend Angie's daughter, Adelaide for her easter basket.


Photobucket
Can I go back in time and get one in my Easter basket too??

Tuesday, March 22, 2011

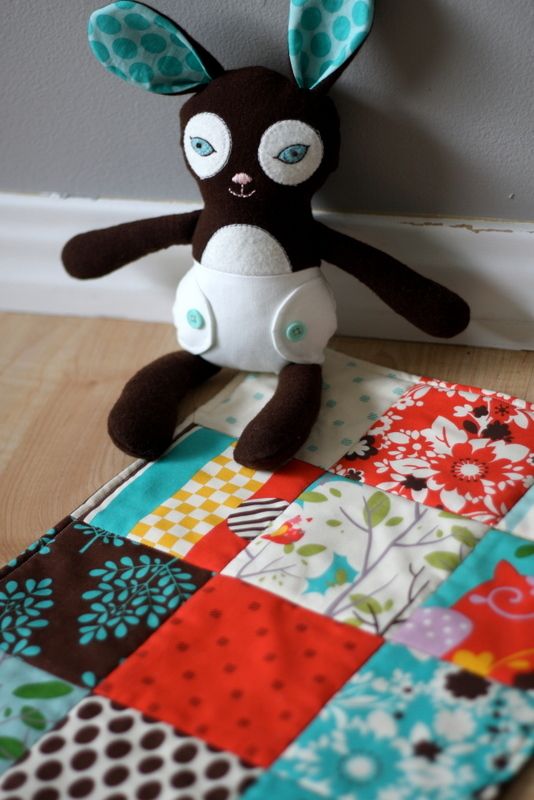
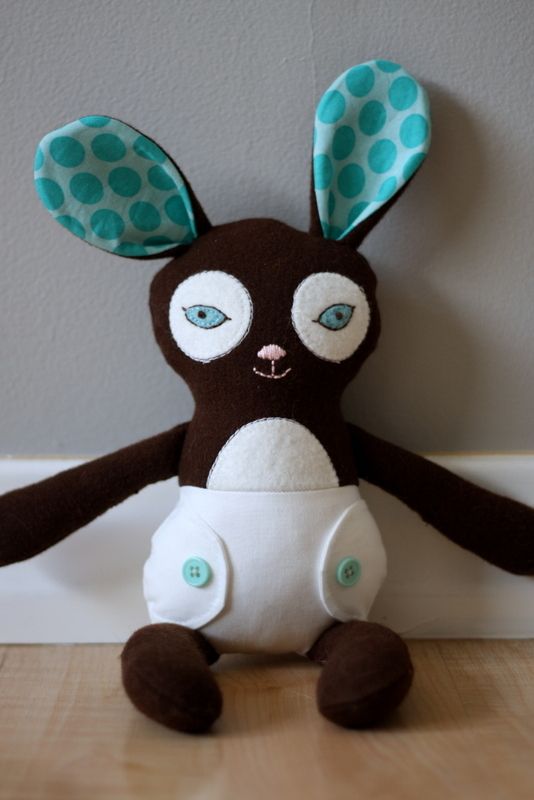
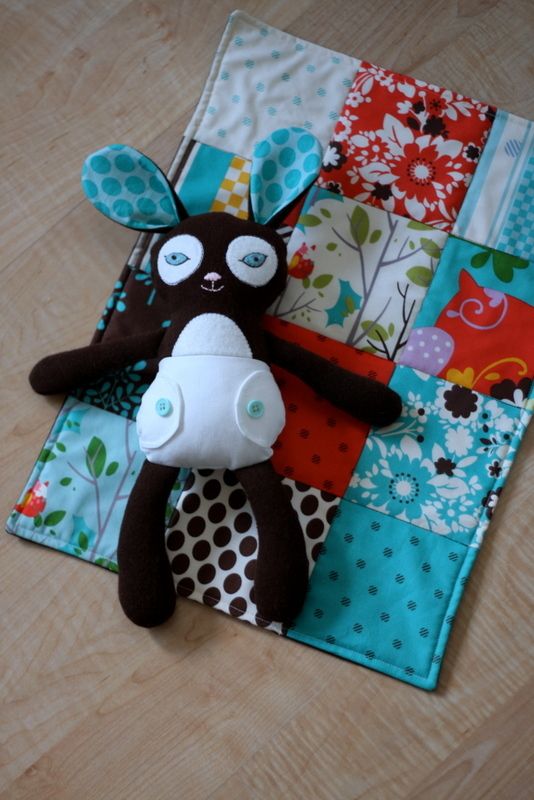
binky bunny

Photobucket
I've found a new muse. Mmmcrafts.


Photobucket
Lil Binky Bunny.


Photobucket
With his own cut lil snuggly blanket!

Sunday, March 20, 2011

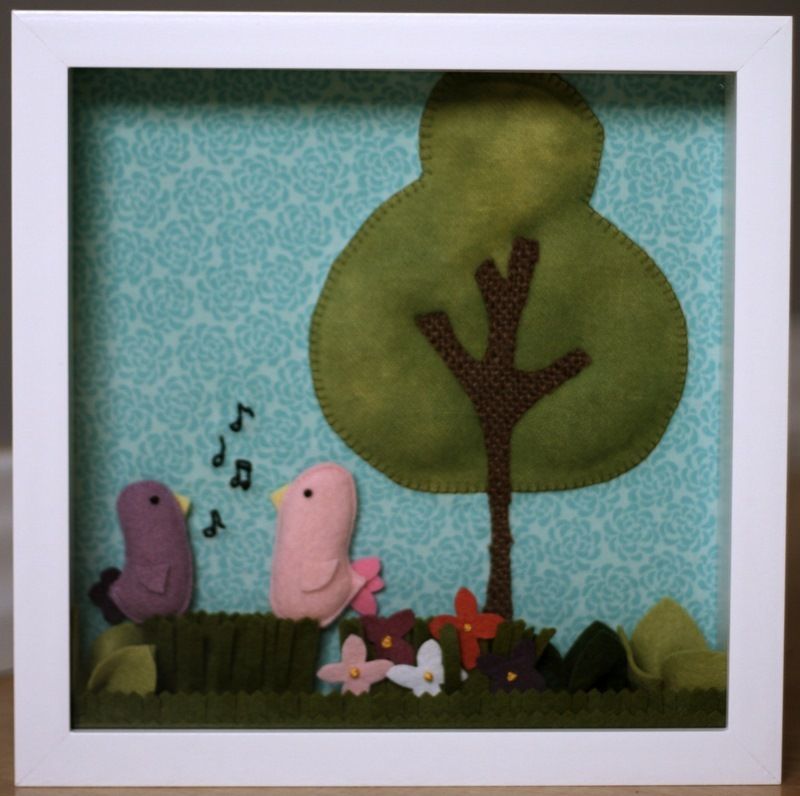
tweet tweet bird shadowbox art

<span class=
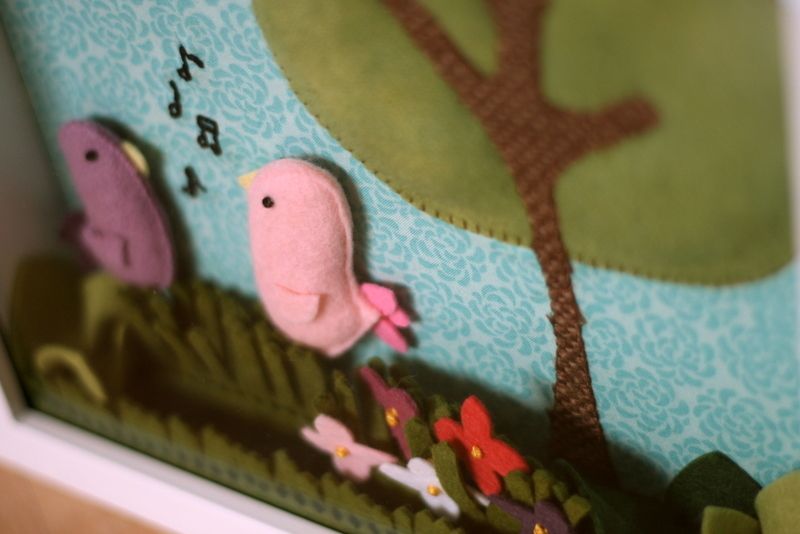
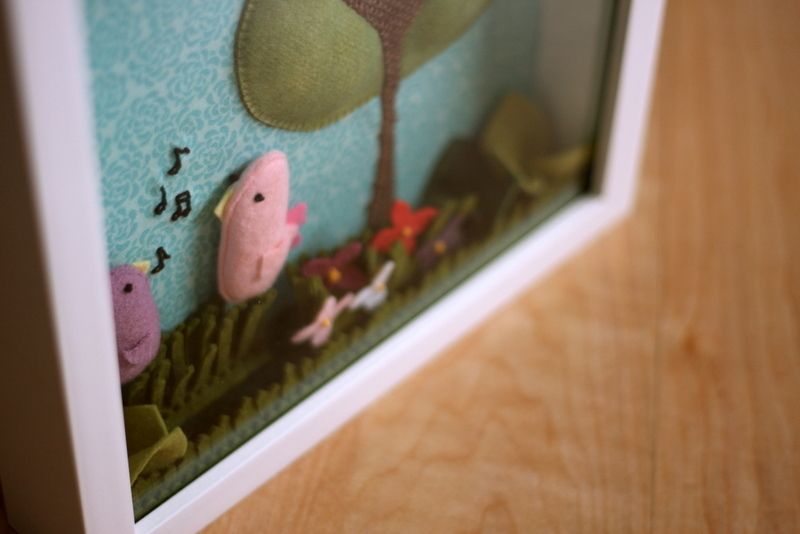
After making the last birdie shadowbox- I wanted to make another. With a tree and some tall grass...


<span class=
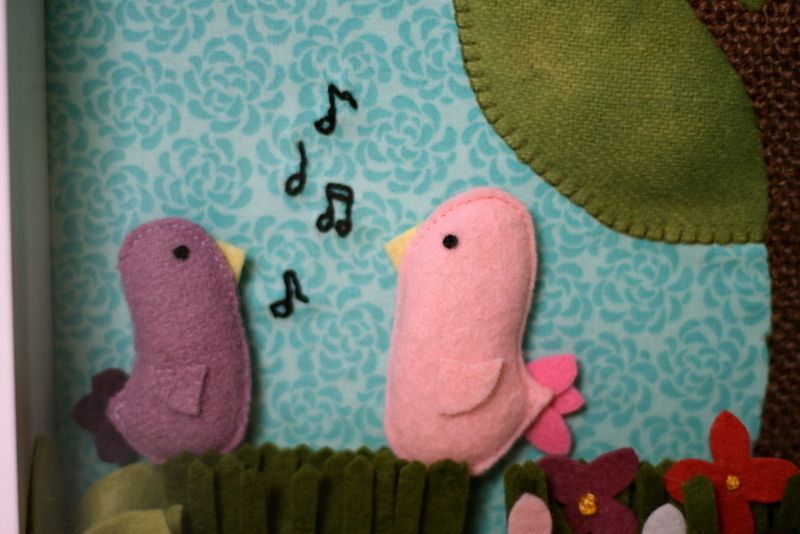
Having a neighborly little conversation...


<span class=
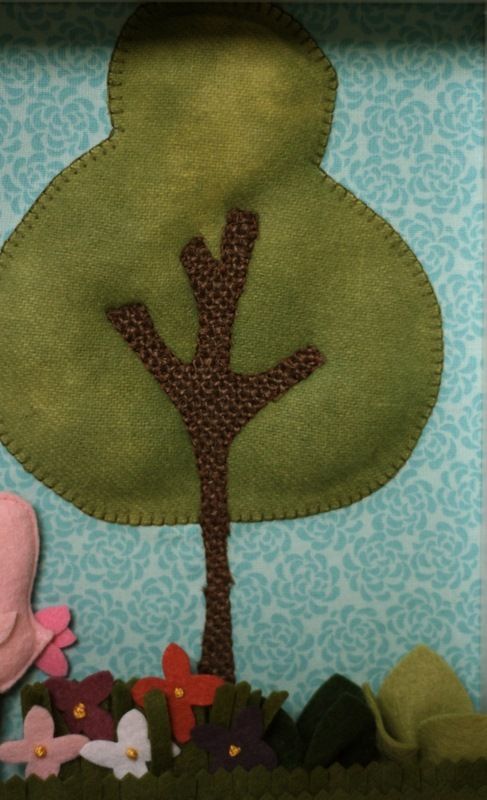
I had a scrap of burlap for the tree...


<span class=
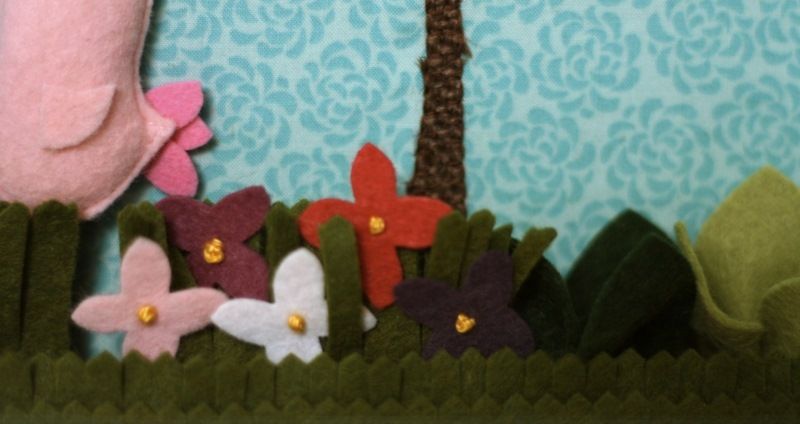
All that's missing from this perfect scene is a white picket fence!


<span class=
Blossoms and blooms...


<span class=
10x10, a perfect little addition for your home!